InetSoft Webinar: Writing a Report Using InetSoft's Query and Analysis Application
This is the continuation of the transcript of a Webinar hosted by InetSoft in February 2018 on the topic of "Self-Service HR Reporting". The speaker is Mark Flaherty, CMO at InetSoft.
So how do you write a report using InetSoft's query and analysis application? Well, it’s very simple to do. You are going to log in, and I’ve already logged into the system, but you see the login/logout on the right hand side. There are multiple levels of securities, so that when you are logging in to the query and analysis tool you’ll only have access to those employees that you have access to in the core system.
Once you have done that you can write report to couple of different ways, but today we are going to do it the very simplest and easiest way. We are going to use the query wizard in the top left hand corner. So when you click the query wizard, we will start off and you have a choice. You can run a summary report, or you can run a detailed report. Today we will run the detailed report.
The first reporting that we are going to do is the benefits report. This is where we connect the query and analysis tool with your HR database. It also does the variety of other things. It also mashes the data together and does the joint for you and presents it in English, easy to understand format. So you are not looking at the cryptic field names.
You can choose your employer or multiple employers. I will just use my standard employer for retail stores, and it’s actually going to show you the contents of the virtual model. You are going to see the basic components of the applicant data and control files, payroll and then of course HR, and within HR you can have all the personnel data. You are going to have benefit data and employee health and safety, workforce development, and employee development.
All those are included. All the fields, all the tables are included in the data model. For today you’re going to see how you write an employee benefits reports, so we are going to choose the employee benefits enrolment table and hit next. And one of the first things you are going to see that all the field are in plain English, it’s the not the cryptic field names. It’s the field descriptions that show exactly what it’s going to be in those different areas. We are accessing the employee root master file where their name, their hire date and other personal information is stored. Also we have already joined the benefit enrolment or beneficiary file as well. So if you need to call from the enrolment table the beneficiaries you can do that.
 |
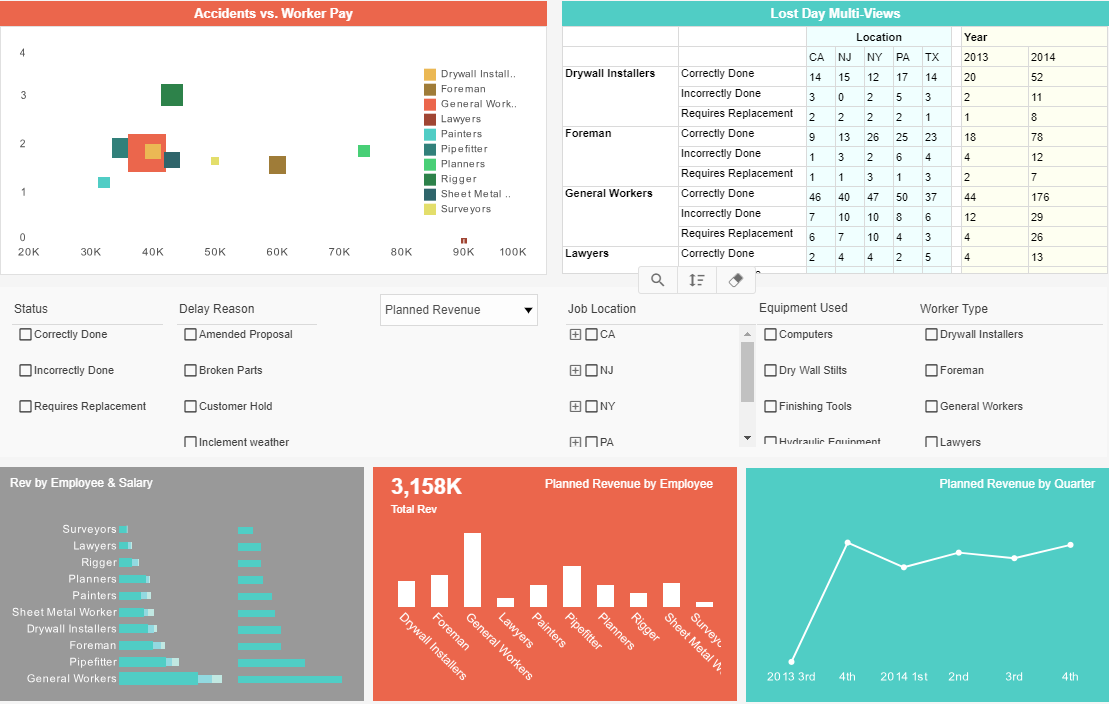
View the gallery of examples of dashboards and visualizations. |
So to write the report, all you do is start selecting the field that you want to be your column heading. Let’s walk through very quickly. The first one you’re going to choose is level one description. For me that’s division. It could be company. It could be whatever it is for you. Also I want to go ahead and grab the employee’s complete name. I simply point and click, drag and drop to bring it over to the output area, and that’s all I really need from the root master file.
I can also get fields over by simply double clicking on them. I’m going to choose the benefit ID, the benefit plan and the plan here, and we will get some numbers in there. Maybe you want to be looking at how much the employees are contributing and how much the employer contributions are. So the output items represent column headings for your report. Simply hit the next button and this screen allows you to filter the data, and you can filter it anyway you want to.
Quite simply you can come up, and lets say we want to filter by plan here, all you have to do point and click, drag and drop this into the filter box and then double click on the item to say that you want to run report just for the past year. Hit okay and hit next to run a filter just for that year. The screen allows you do all kinds of great formatting. We can make this look really nice. We can do a variety of different formats. We will pick a nice blue one here. Hit next.
Here you can save the report. That way you can run it again later. You can share it with other users or you can actually use this report and include and embed it in another report. It really enhances the justification of the reports. It’s finished, and what's going to happen is this is going to go ahead and run the report and give you the information right on the screen. As you see we have only got the past year's data here. That’s the filter we did.
Other than that we have all the enrolments for the employees. So as you can see, it goes all the way down the bottom and anywhere it makes sense it automatically fits in totals for you as well. Now the data can be exported to Excel, and when it is in Excel you can then leverage the power of Excel. Let’s say you wanted to take this and drop this data into a pivot table for analysis. You come and insert at pivot table.
You’ve already got the range highlighted. Hit okay, and now you can choose what goes in the rows and columns. How do you do that? Well, you come to the right side, hit point and click, and drag and drop, and let’s make my division or my level one description in my rows, and you see that it popped up automatically. I want the different benefit IDs to appear in the column, medical, dental and life. And I want to know what the values of the employee contributions for those are for the past year, totaled up across the entire organization. Now you have this in a pivot table, and you can do all kinds of filtering and analysis of the data.
