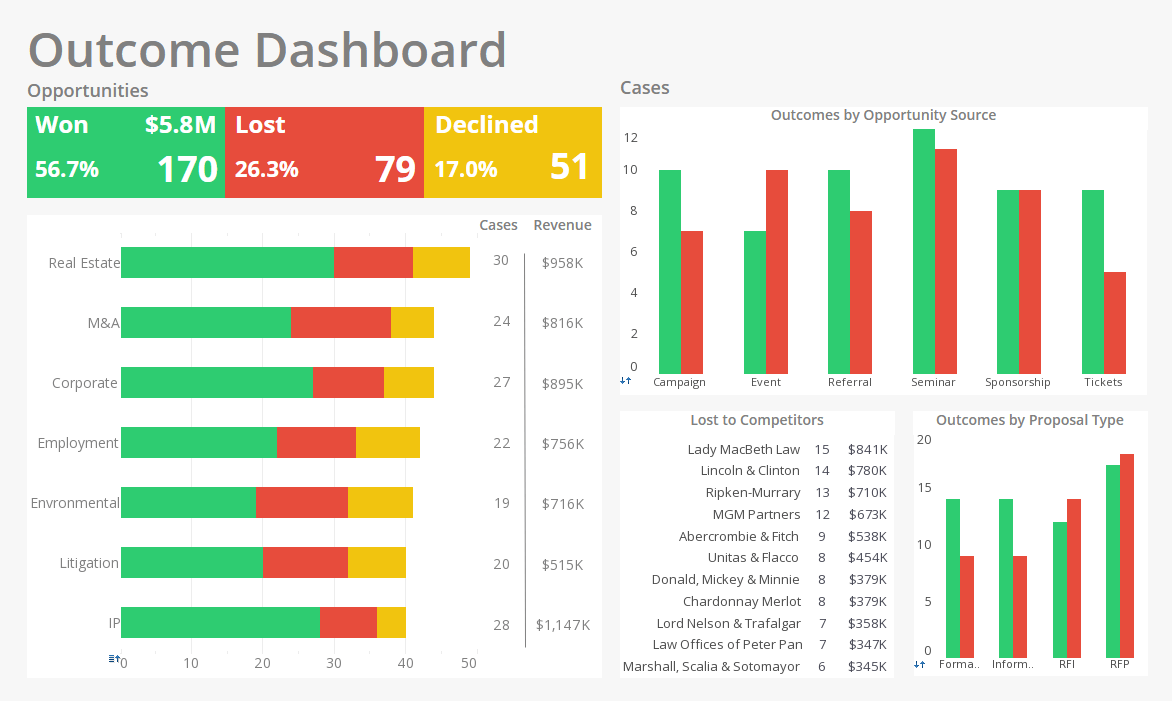
Accessing Dashboard Input
InetSoft's dashboard software allows users to access their input and create a dashboard with custom alerts and settings. View the example below to learn more about the Style Intelligence solution.
You can access the state of different dashboards components within the Viewsheet using the selectedObject and selectedObjects keywords:
selectedObject: The selected value of the component: Applies to single value input elements (Sliders, Radio Buttons, etc.) and the tabs of co-located components. For example, to return the value selected in a radio button control:
radioButton.selectedObject
selectedObjects: An array of values selected in a component: Applies to multi-value input elements (e.g., Check Boxes) and selection elements (Selection Lists and Trees). For example, to return the first selected item in a Selection List:
SelectionList.selectedObjects[0];
You can manually type these references into your script, or enter them automatically by clicking the appropriate node on the 'Component' tree of the Script Editor.
This example uses a RadioButton to give the user a choice of two input options, a Selection List, and a Range Slider. Follow the steps below:
- Create a new Viewsheet based on the 'ProductSales' Worksheet in the Tutorial folder.
- Add a table, Selection List, and Range Slider. To do this, follow the steps below:
- Drag the 'SalesByDate' Data Block into the Viewsheet. This creates a new table called 'SalesByDate'. Resize the table as desired.
- From the 'SalesByDate' Data Block in the Component tree, drag the 'State' column to an empty region on the Viewsheet. This creates a new Selection List named 'State'.
- From the Component tree, drag a Range Slider control into the Viewsheet. This creates a new Range Slider.
- From the 'SalesByDate' Data Block in the Component tree, drag the 'Date' column onto the Range Slider. This binds the Range Slider to the Date field.
- Create a control to allow the user to select the input method. Follow the steps below:
- From the Component tree, drag a Radio Button control into the Viewsheet. This creates a new Radio Button.
- Right-click the RadioButton, and select 'Properties' from the context menu. This opens the 'Properties' dialog box.
- In the RadioButton 'Properties' dialog box, enter the text �DateOrState� in the 'Name' field. Enter the text 'Selection' in the 'Title' field.
- In the 'List Values' panel of the 'Properties' dialog box, select 'Embedded' and click the 'Edit' button. This opens the 'Embedded List Values' dialog box.
- Click 'Add'. For the first 'Label' enter the text �Select Date Range.� For the corresponding 'Value', enter the text �Date�.
- Click 'Add' again. For the second 'Label' enter the text �Select States.� For the corresponding 'Value', enter the text �State�.
- Click 'OK' in both dialog boxes. This creates a Radio Button with two choices from which the user can select the input method.
- Add expression scripts to the Selection List and the Range Slider so that the appropriate control is enabled for the given user selection. Follow the steps below:
- Right-click the Selection List, and select 'Properties' from the context menu to open the 'Properties' dialog box.
- For the 'Enabled' option, click the right-side pop-up menu, and select 'Expression'. Then click the 'Edit' icon to open the Formula Editor.
- In the Formula Editor for the Selection List, enter the script. This indicates that the Selection List control should be disabled whenever 'Date' is selected in the “DateOrState” RadioButton, and enabled otherwise.
- Click 'OK' twice to exit the Formula Editor and the 'Properties' dialog box.
- Repeat the above steps for the Range Slider, and set the 'Enabled' script.
- Click 'OK' twice to exit the Formula Editor and the 'Properties' dialog box.
- Preview the Viewsheet, and experiment with the controls.


