InetSoft Product Information: Dashboard Development
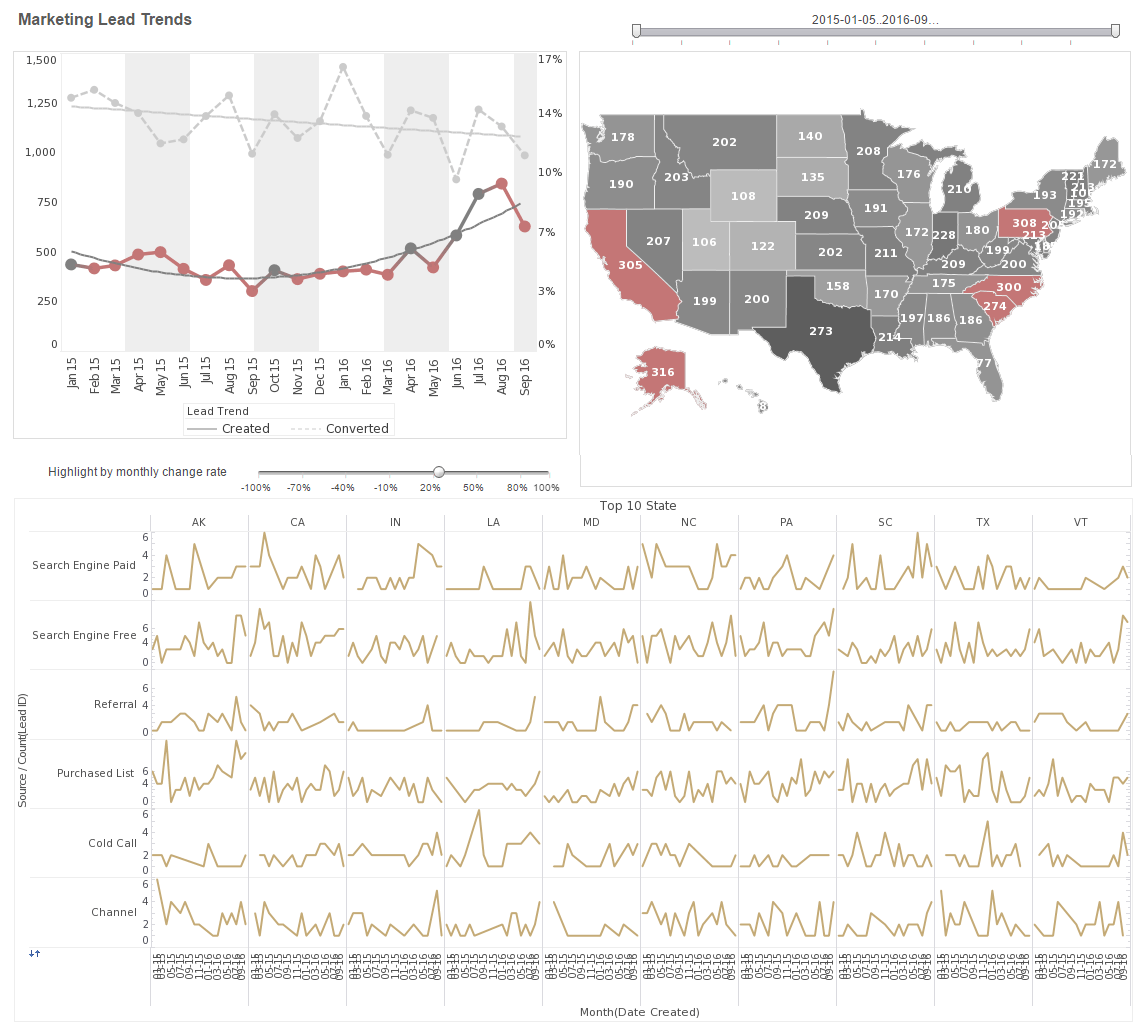
InetSoft's Style Intelligence makes dashboard development unparalleled in simplicity. See the example below to learn how to develop custom dashboards for your industry.
One part of creating a map is to specify the geographical hierarchy. Follow the steps below:
- In the ‘Map Properties’ dialog box, select the Hierarchy tab.
- Drag and drop the geographical field(s) of the Data Block into the �Geography Columns� panel (bottom right).
- For each geographical field in the �Geography Columns� panel, select the appropriate geography layer from the corresponding menu.
- For geographical layers that are not specified explicitly in the data set, supply the appropriate layer information in the ‘Predefined Location’ panel. Follow these steps:
- Click the ‘+’ button under ‘Predefined Location’ to add a new layer.
- From the right menu, select the correct geographical information for your data.
- Repeat the above steps to add all geographical information that is required to resolve the geographical values in the dataset. For example, if your geographical data represents cities in the state of NY, you should set ‘Continent’, ‘Nation’, and ‘State’ layers in the ‘Predefined Location’ panel.
- Click the �Check� button. This opens the �Geographic Feature Names� dialog box.
 |
View a 2-minute demonstration of InetSoft's easy, agile, and robust BI software. |
You will now specify the geographical hierarchy in the map data.
- Select the Hierarchy tab. Drag and drop the geographical field(s) of the Data Block (�State�) into the �Geography Columns� panel.
- Select �State� from the menu next to the �State� field. (This indicates that the �State� field corresponds to the State layer in the geographical database.)
- Since the data only contains State-level information, you have to specify the country and continent to which these states belong. Click the �+� button under �Predefined Location� and set the �Continent� to �North America� and �Nation� to �United States�.
- Click the ‘Check’ button. This opens the ‘Geographic Feature Names’ dialog box, and verifies that the geographical data in the ‘State’ field match the standard format followed by the geographical database. In this example, the ‘Geographic Feature Names’ dialog box has no entries, which means that all of the ‘State’ data was correctly matched.
- Click ‘OK’ to close both dialog boxes.
| Previous: Dashboard Display |
Next: Dashboard Composer
|
We will help you get started
Contact us
