InetSoft Product Documentation: Dashboard Output Graphics
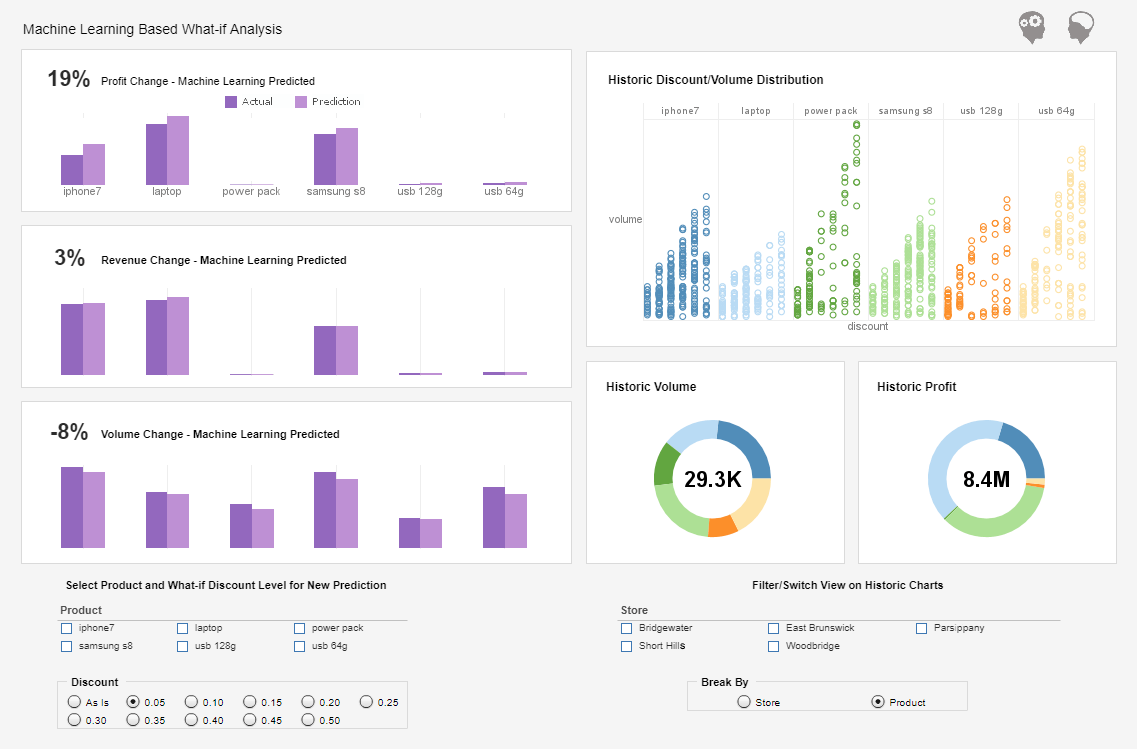
InetSoft's dashboarding software offers sophisticated output graphics that allow you to view complex information in a quick and simple manner. View the example below to learn more about the Style Intelligence solution.
Radio Buttons, Check Boxes, and Combo Boxes are used to enter numeric or non-numeric data into an Embedded Table in the underlying Worksheet. They can also be used to set dynamic properties of other Viewsheet components, e.g., visibility, color, etc.
Radio Buttons, Check Boxes, and Combo Boxes offer similar functionality. Whereas Radio Buttons and Combo Boxes allow only a single item to be selected, Check Boxes allow multiple items to be selected.
To create a Radio Button, follow the steps below. (Check Boxes and Combo Boxes are identical.)
1. Drag a Radio Button control from the Component tree onto the Viewsheet grid.
2. Right-click the control and select ‘Properties’ from the context menu. This opens the Radio Button dialog box.
3. If you will use the input control to set dynamic properties for another element, follow these steps:
a. Select the General tab, and enter a ‘Name’ for the control. This is the name by which the control is identified in dynamic property menus. (See Using Input Controls to Set Properties.)
| #1 Ranking: Read how InetSoft was rated #1 for user adoption in G2's user survey-based index | Read More |
b. Click ‘OK’ to finish.
4. If you will use the Radio Button to set values in a Worksheet Embedded Table, follow the steps below:
a. Select the Data tab.
b. From the ‘Table’ list, select an Embedded Table Data Block in the linked Worksheet.
c. From the ‘Column’ list, select the desired field of the Embedded Table.
d. From the ‘Row’ list, select the row of the table to which the input control should provide data.
e. Click ‘OK’.
5. Populate the Radio Button control with the values it will display. There are two methods:
a. Manually enter a list of values and labels: See Populating Label/Value Pairs Manually.
b. Specify a query to generate a list of values and labels: See Populating Label/Value Pairs from Query.
6. Click ‘OK’ to close the dialog box.
| Previous: Dashboarding Tool Properties |


