InetSoft Product Information: Displaying Dashboard Data
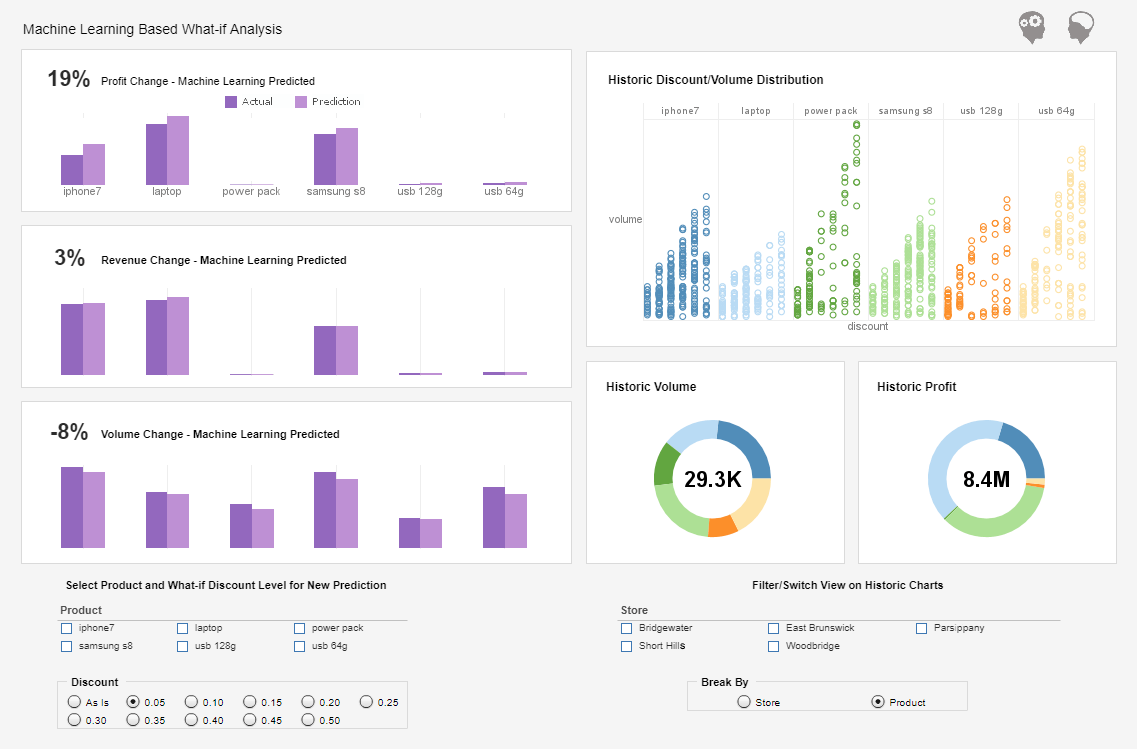
Users have the ability to display live data using InetSoft's award-winning dashboard software, an all-in-one business intelligence solution for mid-sized and large enterprises than comes as a stand-alone or embeddable solution. View the example below to learn more about the Style Intelligence solution.
There are several ways to limit the number of rows (records) presented in a table:
• To limit the number of rows retrieved and displayed by a particular table in Live Data mode only, set the 'Max Display Rows' property in the table 'Table Properties' dialog box.
• To limit the number of rows retrieved from the database at runtime (and displayed in Preview and Live Data modes), set the 'Max Rows' property in the table 'Table Properties' dialog box.
• To globally limit the number of rows returned by all queries and sub-queries, set the 'Design mode sample data size' in the 'Worksheet Options' dialog box.
• To retrieve only the rows of a table matching some specified criteria, set a filtering condition on the table.
• To retrieve only the rows of a table that have some specified relationship to the data of another table, create a joined table.
| #1 Ranking: Read how InetSoft was rated #1 for user adoption in G2's user survey-based index | Read More |
The length of a table is the number of records that the table retrieves from the database. You can check this length in two ways, by using Live Data mode or by using Preview. To check the length of a table using Preview, follow these steps:
1. Select the table, and click 'Preview' in the toolbar. This opens the 'Preview' tab.
2. Click on the table preview. The information bar at the bottom of the page shows the number of records in the table.
To check the length of a table using Live Data, follow these steps:
1. Click the 'Show Live Data' button in the table title bar.
2. Open the 'Table Properties' dialog box.
3. Make sure the 'Max Rows' field is empty. (This ensures that there is no artificial limit on the number of records retrieved. However, limits can also be set by an administrator.)
4. Click 'OK' to close the 'Table Properties' dialog box.
5. Click the table title bar to select the table.
6. Consult the information bar at the bottom of the window (just above the tab).
The information bar displays the total number of records retrieved, as well as the record numbers currently being displayed. If the information display reads “maximum exceeded,” this means that Live Data mode is unable to display the full table. In this case, use the Preview method to assess the table length.
To rotate a table, right-click on the table's title row and select 'Rotate' from the context menu.
This creates a rotated copy of the table, which is linked back to the original table. In the rotated copy, each row of the original table becomes a column, and each column of the original table becomes a row. The first column of the original table is the column header row of the rotated table, and the column header row of the original table is the first column of the rotated table.
| Previous: Live Data Dashboard |
Next: Combining Dashboard Data
|


