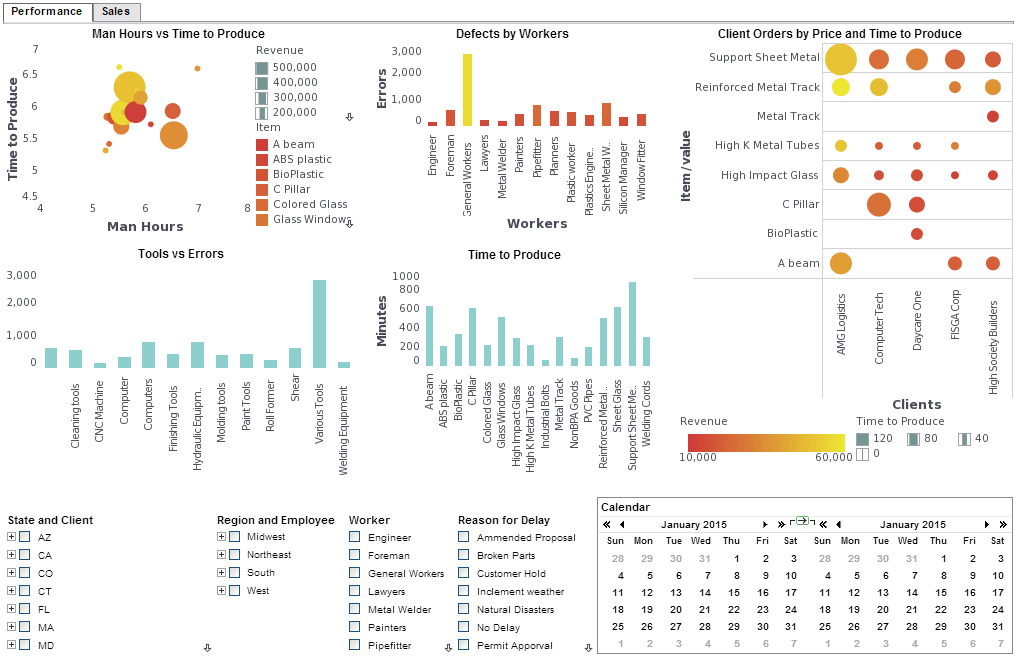
InetSoft Product Information: Dashboard Features
Setting Dashboard Properties
You can set global options for the Viewsheet from the ‘Viewsheet Properties’dialog box. To open
the ‘Viewsheet Properties’ dialog box, do one of the following:
• Click the ‘Options’ button in the main toolbar.
• Right-click in an empty location on the Viewsheet grid, and select ‘Options’ from the
context menu.
The Options tab of the ‘Viewsheet Properties’ dialog box provides the following settings:
| SETTING | DESCRIPTION |
| Worksheet | The Worksheet to which the current Viewsheet is linked. |
| Disable Prompt Parameter |
When selected, suppresses prompting for any filter parameters defined in the linked worksheet, and drops the corresponding filter conditions. |
| Enable Server- Side Update |
Allows the server to refresh Viewsheet data. Update frequency is given by the ‘Refresh Interval’ setting. |
| List on Portal Tree |
Determines whether the current Viewsheet will be visible in the User Portal (subject to permissions set by administrator). |
| Alias | Specifies a designation to be used in place of the actual Viewsheet name. The alias replaces the Viewsheet name in all contexts exceptthe following: The Report tab and the ‘Export Assets’ page in Enterprise Manager. These always display the actual Viewsheet name. |
| Description | A description to appear as a tooltip when the user hovers the mouse over the Viewsheet in the Portal tree. |
The Filters tab of the ‘Viewsheet Properties’ dialog box allows you to specify the manner in which selection elements in different viewsheets should interact within the Portal.
 |
View a 2-minute demonstration of InetSoft's easy, agile, and robust BI software. |
Creating a Background
You can use an image or a shape component as a background for any portion of a Viewsheet. For example, you
can place an image behind a set of components to provide the appearance of a frame or panel. To use an image
or shape as a background, follow the steps below:
1. Add an image component or shape component to the Viewsheet.
2. For an image component, follow the steps below:
a. Right-click the image component, and select ‘Properties’ from the context menu. This opens
the ‘Properties’ dialog box.
b. Select the General tab. From the ‘Static Image’ panel, specify an image to display as the
background. (See Image for more details.)
c. Select the Advanced tab, and enable the ‘Scale Image’ option.
d. Click ‘OK’ to exit the dialog box.
3. Right-click the image or shape component, and select ‘Send to Back’ from the context
menu.
4. Drag the image or shape into the desired position (usually behind another component or components). If there is overlap with other components, Visual Composer generates the following prompt: “Overlap as co-located components?”
5. Click ‘No’. This will place the image or shape behind the other components.
6. Resize the image or shape as desired. You can continue placing other components on top of this background image.
 |
Read the top 10 reasons for selecting InetSoft as your BI partner. |
| Previous: Custom Dashboards |
Next: Using Dashboards
|

