Dashboard Table Column
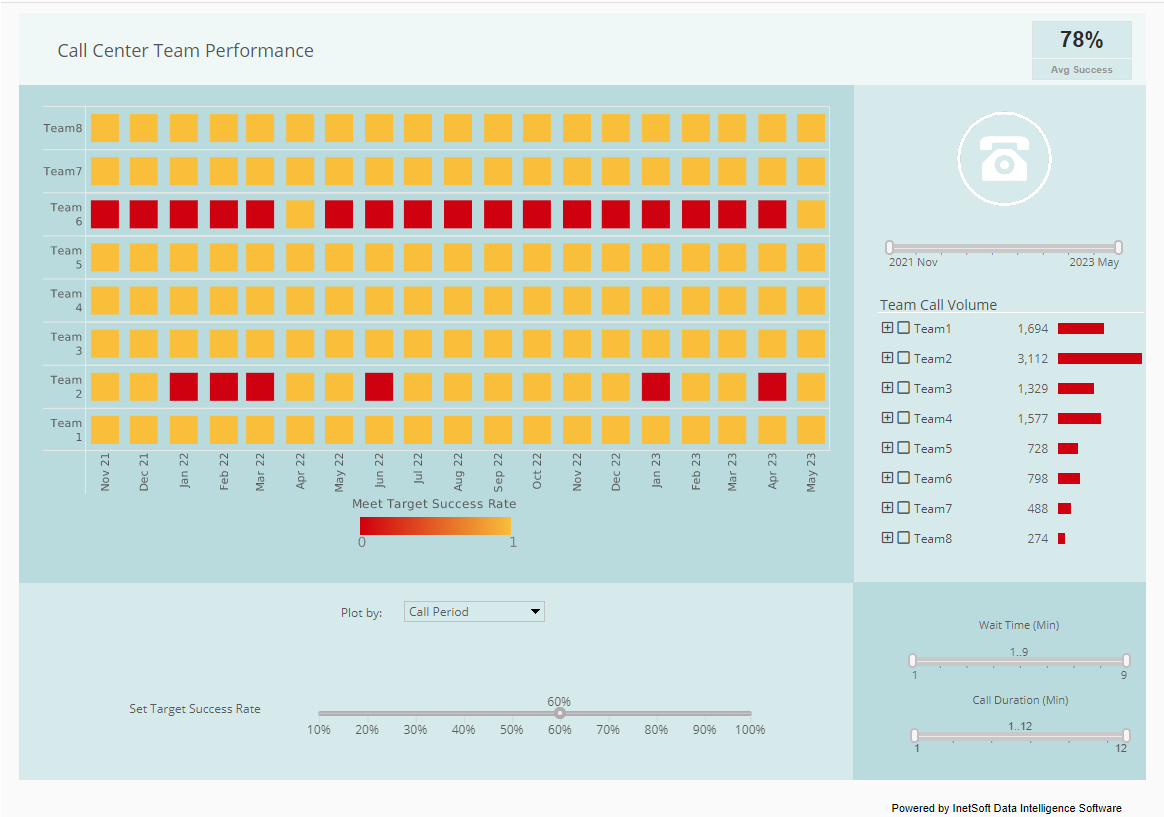
InetSoft's award-winning dashboard software give users the ability to add dashboard table columns to interactive multidimensonal data reports. View the example below to learn more about the Style Intelligence solution.
This section describes various ways to change the column properties of a table.To change a column name, double-click the column header and enter the desired text. To change the position of a column, click on the column header cell, and drag the column to the desired location in the table.
A green bar shows the place where the column will be inserted. To change the visibility of a column (show or hide), click the 'visibility' button next to the column name in the column header cell.
By default, all manually created columns in an embedded table are of type 'String'. To change the type of an embedded table column, follow these steps:
| #1 Ranking: Read how InetSoft was rated #1 for user adoption in G2's user survey-based index | Read More |
1. Right-click the column header, and select 'Column Type' from the context menu. This opens the 'Column Type' dialog box.
2. Select the desired data type from the 'Type' menu, and click 'OK'.
In the following example, we will change the data type of an embedded table column from 'String' to 'Integer':
1. Create a new Worksheet.
2. Create a new embedded table with four rows and four columns.
3. Right-click a header cell and select 'Column Type' from the context menu. This opens the 'Column Type' dialog box.
4. Select 'Integer' from the 'Type' menu and click 'OK'.
To change the formula of an expression column, follow these steps:
1. Click the column header to select it.
2. Click the 'Formula' button in the column header. This opens the Formula Editor.
3. Make the desired changes to the formula, and click 'OK' to close the Formula Editor.
To edit a date range column or numeric range column, follow these steps:
1. Select the column header.
2. Click the Date Range or Numeric Range icon in the header.
More Articles About Dashboards
Consider InetSoft's Online Reporting System - Are you looking for a way to create reports and track business performance? InetSoft's online reporting system is the ideal tool for users wanting to track their KPI's remotely without having to rely on specialized IT professionals and endless hours of setup. Whether it's installed on your local desktop, in the cloud, or at a server at your company's local intranet, this web-based reporting software allows users to access their reports through a web browser. InetSoft's online reporting system can be installed and run in the cloud, on a remote server provided by Amazon web services or any other provider. Connections to a company's local and remote data sources can be set up so that the InetSoft tool pulls in data from any number of sources, no matter the location...
Information About Color Dashboards - Color dashboards facilitate the identification of visual elements in business reports leading to the quick recognition of trends and differences and make drill-down into categories easier. You can represent data values using the following visual formats: Color, pattern, size, or text. These formats can be applied to an entire dataset or to a subseries within a dataset. The following sections explain how to add visual formats to a dataset...
Procedure for Creating a Chart - A dashboard chart displays a graphical view of summarized data (the graphical equivalent of a crosstab table). Viewsheet charts are interactive. You can zoom in and out, view chart details, and "brush" the chart to track data in multiple views. This section explains the basic procedure for creating and editing a chart, including binding the chart to data, setting ranking order, aggregation method, and chart style. To add a chart to a Viewsheet, drag and drop the Chart element from the component tree into the grid. Use the mouse to move and resize the chart as desired...
Tool to Make a Heat Map Online for Free - To easily and quickly create heat maps online for free, create a Free Individual Account on the InetSoft website. You will then be able to upload a spreadsheet data set. choosing dashboard source Once you have done that, you will be able to proceed past the Visualization Recommender, which can usually get you started creating a dashboard. Since the Recommender does not allow you to create a heat map chart, press the Full Editor button. Then proceed to build the map as described in the previous section...
What Metrics Are Tracked on a Email Marketing Dashboard? - Open Rate: The percentage of recipients who opened your email. It indicates the effectiveness of your subject lines and the overall appeal of the email content. Click-Through Rate (CTR): The percentage of recipients who clicked on at least one link within your email. This metric measures how engaging your email content is and how well your call-to-action (CTA) prompts recipients to take action. Conversion Rate: The percentage of email recipients who completed the desired action after clicking through your email. The action could be making a purchase, filling out a form, or any other desired outcome...
| Previous: Creating a Dashboard Column |
